- Predstavitev
- Uporaba
- Dostop
- Programski jeziki in knjižnice
- modules
- Nadzornik računskih virov SLURM
- TotalView
- VisIt
- IOzone test
- OpenFOAM
- ppgplasma
- Inkscape
- LaTeX in SVG
- Access
- Analiza, razčlenitev in razhroščevanje
- Ansys
- BIT1
- Cluster Management Utility
- DDT
- Eclipse
- Elmer
- Goldfire Innovator
- MPI
- Mathematica
- NX shadow
- OpenMP
- Platform Managment Console
- Pošta
- R
- Subversion
- UGS NX
- Projekti in dogodki
- Prijava
- Wiki
Main menu
Nahajate se tukaj
Whiteboard collaboration with NX shadow client
Supercomputing facility HPCFS offers whiteboard collaboration through NoMachine remote desktop software installed at login node. Anonymous guests can request attachment to HPC user's running session by navigating web browser to login node and following instructions there, where client software will be automatically installed if required. No password is needed, just remote desktop owner approval. Shadowed display is somewhat slower than owner's desktop, depending on the network connection, but provides full desktop control with keyboard and mouse. Both parties can thus collaborate simultaneously by looking the same desktop while talking over phone or Skype. Users giving access to their desktops should be aware that such collaboration does not give them right for granting third parties access to the (super)computing facilities. It should be only used for problem discussion and typing for publications. Quick procedure for getting display attached:
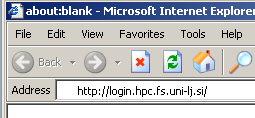
- Open web browser and enter http://login.hpc.fs.uni-lj.si
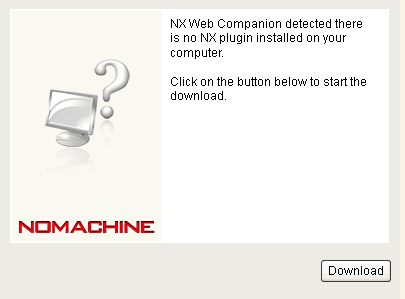
- Initial screen redirects to NX plugin
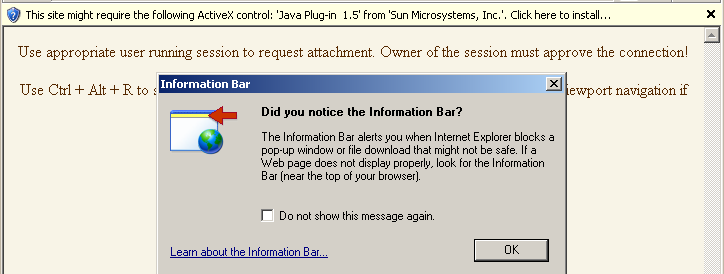
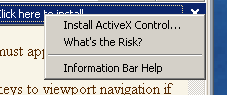
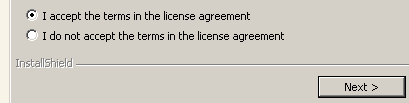
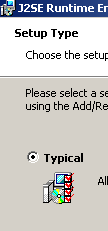
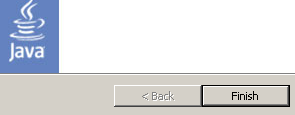
- If Java and/or NX plugin is missing request for download are issued automatically. Accept all requests and install missing plugin.
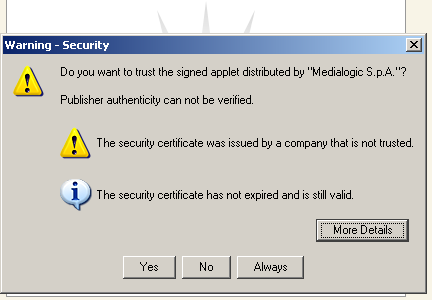
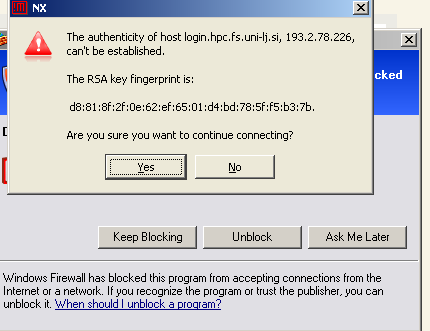
- NX plugin installation appears. Approve all actions suggested.
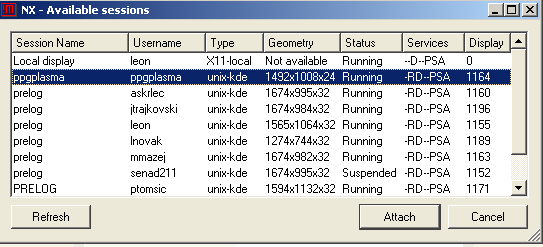
- List of available sessions appears. Select username by clicking appropriate row and then button Attach.
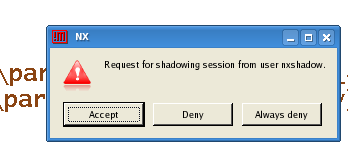
- Owner of the remote desktop must approve desktop attachment. Ask him/her by phone to approve it by clicking in dialog box.
- After approval remote desktop appears. Guest can interact with mouse and keyboard with the same privileges as desktop owner. Use Ctrl + Alt + R to switch "auto-resize/viewport" mode and Ctrl + Alt + arrow keys to viewport navigation if your display is not large enough.
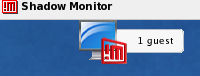
- Disconnect from display with Ctrl + Alt +T or by clicking window close (x) button. Shadow Monitor icon can also be used for disconnection.
Showing all of the above steps in Windows XP in WMW or FLASH is also dechipered below. Click here for 4-page printable version. Other system follows similar procedure.
- Open web browser and enter http://login.hpc.fs.uni-lj.si
- Initial screen automatically redirects to NX plugin after 15 second. Click image if impatient.
- If Java and/or NX plugin is missing request for download are issued automatically. Accept all request and install missing plugin by clicking OK, Install ActiveX control, Install, and Finish.
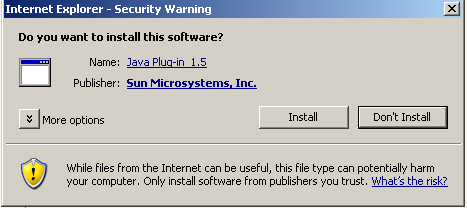
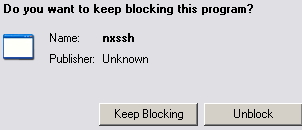
- NX plugin installation appears. Cllick Yes, Download, Yes to fingerprint (verify), and Unblock buttons.
- List of available sessions appears. Select username by clicking appropriate row and then button Attach.
- Owner of the remote destop must approve desktop attachment. Ask him/her by phone to approve it by clicking in dialog box.
- After approval remote desktop appers. Guest can interact with mouse and keyboard with the same privieges as desktop owner. Use Ctrl + Alt + R to switch "auto-resize/viewport" mode and Ctrl + Alt + arrow keys to viewport navigation if your display is not large enough.
- Disconnect from display with Ctrl + Alt +T or by clicking window close (x) button. Shadow Monitor icon can also be used for disconection. Allow further unblocked access by NX secure shell (nxshell).

| Priponka | Velikost |
|---|---|
| 4.16 MB | |
| 118.99 KB | |
| 406.44 KB | |
| 9.23 MB |
- Prijavi se za komentar